A Wi-Fi extender may be your best option if you occasionally encounter signal latency or inactive spots while using the internet in your house.
The Netgear Wi-Fi extension is currently all the rage, given its flawless range and ideal signal power. Additionally, it fixes the problem of sluggish internet speeds and offers continuous internet access throughout every inch of your property.
Consider this gadget if you frequently encounter Wi-Fi network problems as well. However, it would help if you became acquainted with its setting procedure. If not, your freshly purchased device will help you differently than you hoped.
Benefits of Setup Netgear Nighthawk Wi-Fi Extender & Router
The advantages of the Netgear Nighthawk Wi-Fi Extender & Router include the following:
- Enhanced Wi-Fi Performance: The Nighthawk Extender & Router can improve wifi performance by directing the Wi-Fi signal specifically at your linked devices thanks to cutting-edge technologies like Beamforming+.
- Multiple Device Support: Because the Nighthawk Wi-Fi Extender & Router supports various devices, you can link all of your smart devices, gaming systems, computers, and cell phones to the same Wi-Fi network.
- Simple Setup: You can swiftly and efficiently set up your network options using the user-friendly interface of the Nighthawk Wi-Fi Extender & Router.
- Advanced Security Features: To safeguard your network from unwanted access and secure your confidential information, the Nighthawk Wi-Fi Extender & Router is equipped with advanced security features like WPA2 encryption, visitor network access, and firewalls.
Start the Netgear Nighthawk Wi-Fi Extender Setup Procedure Without wasting time!
Netgear Wi-Fi Extender Setup – Manual Method
You need to go to the device’s web interface for direct configuration. But we’ve broken down the procedure into a few simple stages below.
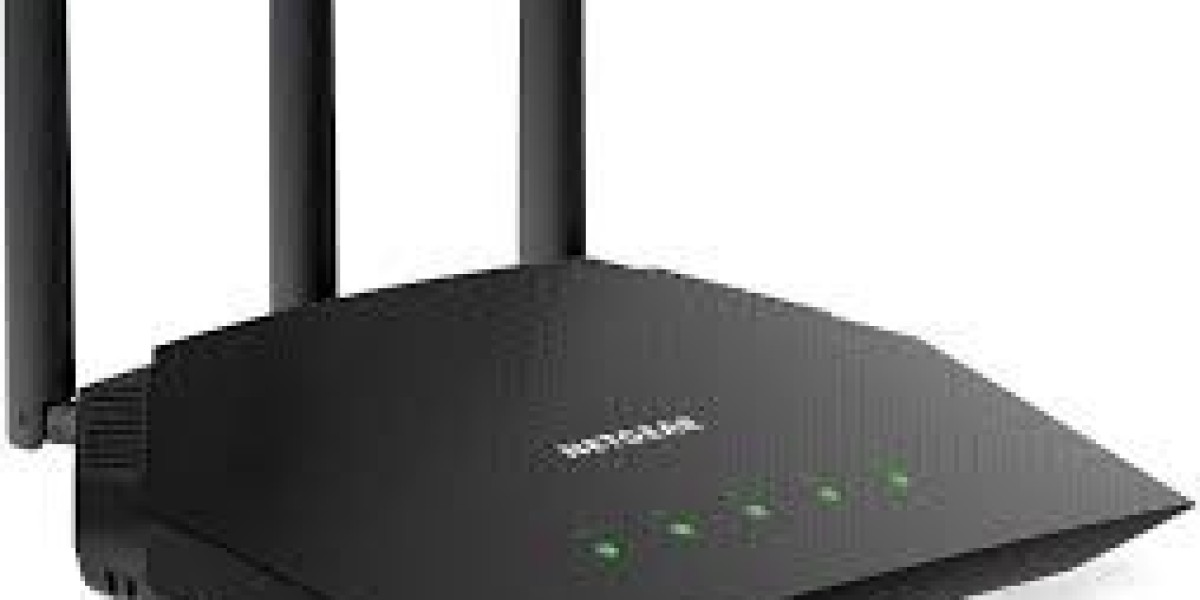
- You must first unwrap your gadget and fasten its transmitters.
- After assembling it, connect it to a power supply. However, check to see if the connection has any wear or injury. If so, think about using a different receptacle to charge the appliance.
- Next, join your Netgear Wi-Fi extender to your network, then turn the electricity on.
- Then, turn on your computer and launch your preferred online software.
- In the browser box, type https://www-mywifiext-net.net/ and press the enter key.
- Your login and password will be requested when you first access the Netgear wifi extender configuration window.
- To check in, enter the default login and password.
- After pressing enter, the Netgear Wi-Fi interface will appear.
- To enlarge a Wi-Fi network with a Netgear range extension, select the network you want to do so.
- When you press enter, a screen requesting your Wi-Fi passphrase will appear.
- To conclude the Netgear range extender setup, double-check that the information you input is accurate and choose to conclude.
You’re all set! You have effectively completed the manual configuration of a Netgear range extension. Keep in mind that your current network identifier is Netgear_Ext SSID. You can move your Wi-Fi range extension to the place of your choice. Nonetheless, it would help if you kept a few things in mind.
- The location you choose for your Netgear extender setup must be within the range of your Wi-Fi router.
- I prefer placing it away from electrical devices, typically microwaves, mobile phones, Bluetooth devices, and refrigerators. These devices might diminish the transmission by interfering with it.
- Ideally, placing your Netgear Wi-Fi extender in an area where you typically experience a signal lag is best. However, pros recommend setting up an extender in a central room at the highest location. It allows for signal transmission throughout your home.
These steps will help you set up your new device and enjoy maximum signal strength when surfing the internet.
Setting up Netgear Wi-Fi Using WPS Method
We have a workaround for you if the physical procedure needs to be revised. One of the simplest methods to operate your extension is to set up your Netgear Wi-Fi extender using WPS.
The Wi-Fi Protected configuration procedure for Netgear Wi-Fi extenders is described here.
- Check all the LED indicators on your Netgear Wi-Fi extension after turning it on. The gadget has been turned on when the lights are green.
- Hold down the phone’s WPS icon for a few seconds.
- Press the WPS icon on your Wi-Fi network right away.
- Your Wi-Fi router has been appropriately linked to the extender when you notice the LED light going steady green.
- You must follow the same steps if you have a dual-band extension.
- Connect to your Wi-Fi range extension by entering the router’s password.
- You can read through the Wi-Fi range extension manual if unsure of the login and password.
This is it! Your Netgear Wi-Fi extension is currently configured. Connecting your home appliances to the Netgear extender gives you a constant internet link throughout your house.
Netgear Extender Setup Using Nighthawk App
This technique may not be widely known, but it makes setting up your Wi-Fi range extension very simple.
Here’s how to install the Nighthawk App and configure a Netgear Wi-Fi extension.
- The program is available for Android and iOS users in the gadget stores.
- Depending on your device, you must first launch the Apple Store or Google Play Store before continuing with this technique.
- Next, look for the Netgear Nighthawk software and select install to start the installation.
- Run the app after a successful download and confirm that you accept all the terms and conditions.
- You can access your Netgear account by clicking this.
- Use the Netgear_Ext SSID to link your mobile device to your Wi-Fi router by providing your login and password.
This technique generally works immediately, but if you encounter any problems, it may be because of an app error. You can reset your device after uninstalling the program. After that, download the Nighthawk program again to fix the root problem.
This technique will help you fix any issues you encounter while setting up the extender.